LDAP Setup for IPTV Console Accounts
AD Accounts Access IPTV Management Console
Active Directory (“AD”) administrators can grant AD accounts access to use IPTV Management Console by configuring the “AD Group Map”. This setup involves two key steps:
Create an “AD Group Map” in IPTV Console, where each “AD Group” defines a specific combination of “Role” and "Access Sites”.
Assign appropriate AD Groups to the relevant AD Accounts within the Active Directory.
The process of configuring the “AD Group Map” is as follows.
Log In
Access the Account Console at the server level.
Open AD Group Map
Click the “AD Group” icon (first one from the left).
The “AD Group Map” pane will appear on the left side of the screen.

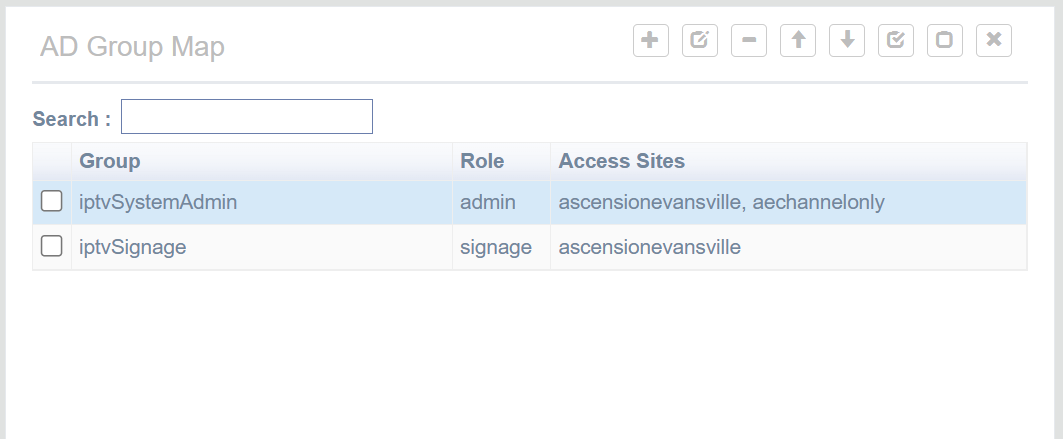
Add an AD Group
Click the “add” icon (first icon from the left)
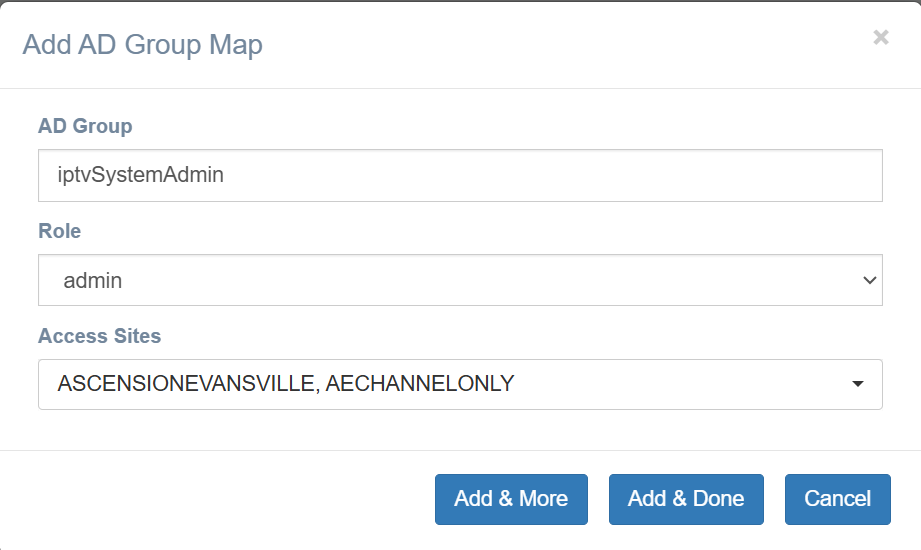
In the “Add AD Group Map” dialog.
Enter the desired “AD Group Name”.
Select a role from the “Role” dropdown.
Choose all relevant “Access Sites”.
Click
“Add & More” to save and continue adding groups.
“Add & Done” to save and close the dialog.
Edit an AD Group
Select the AD Group you wish to modify.
Click the “edit” icon (second icon from the left).
Make the necessary changes in the “Edit AD Group” dialog.
Click OK to save.
Delete one or more AD Group
Select one or more AD Groups for deletion.
Click the “delete” icon (third icon from the left).
Confirm by clicking “OK” in the confirmation dialog.
Reorder AD Group
Select the AD Group to move.
Click
“Move up” icon (fourth icon from the left), or
“Move down” icon (fifth icon from the left).